A Beginner's Guide to Brewing Your Own Beer

Ever wished you could crack open a cold beer you brewed yourself? Homebrewing is a fun and cool hobby that lets you play around with flavors and create beers you love to drink. It might seem complicated at first, but with some simple steps and a little patience, you can be on your way to becoming a homebrew rockstar!
Brewing Equipment for Beginners
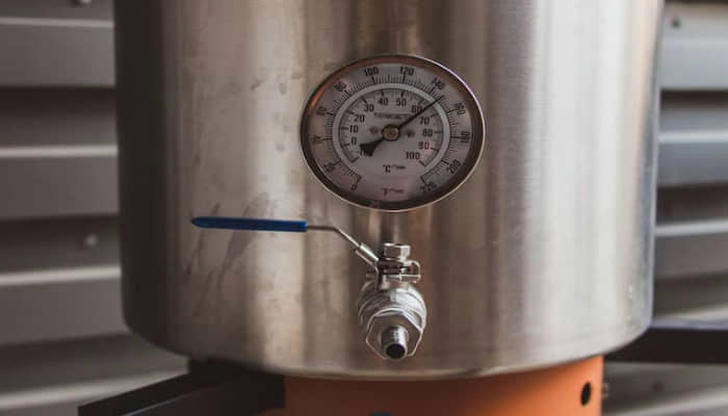
Before we dive into the brewing process, let's gather the tools you'll need to craft your masterpiece. Here's a basic rundown of the essential equipment: • Brew Kettle: A large pot (usually stainless steel) for boiling your wort (unfermented beer).
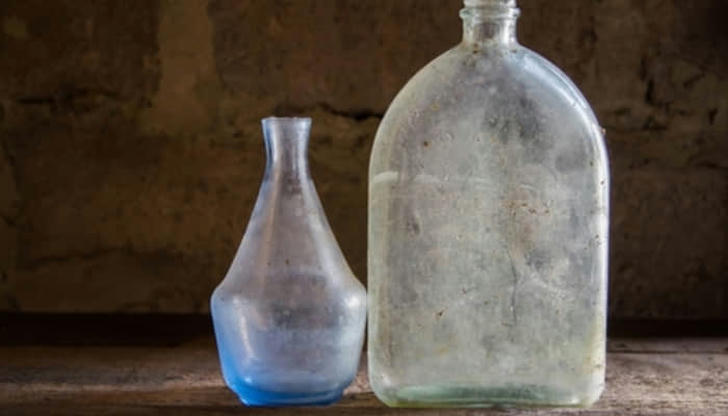
• Carboy: A large glass jug where fermentation magic happens.
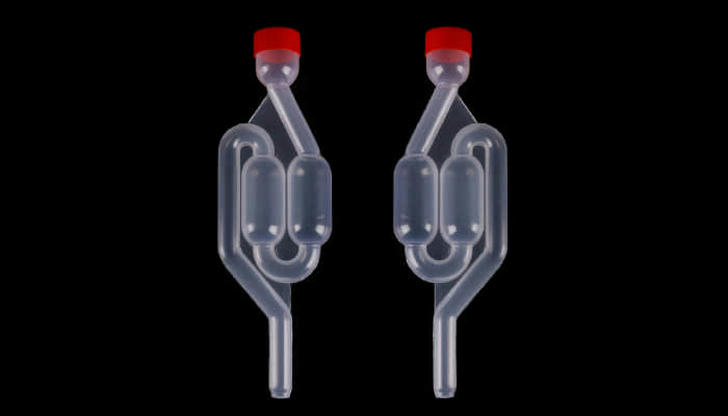
• Airlock: A one-way valve that allows CO2 to escape during fermentation while preventing contaminants from entering.
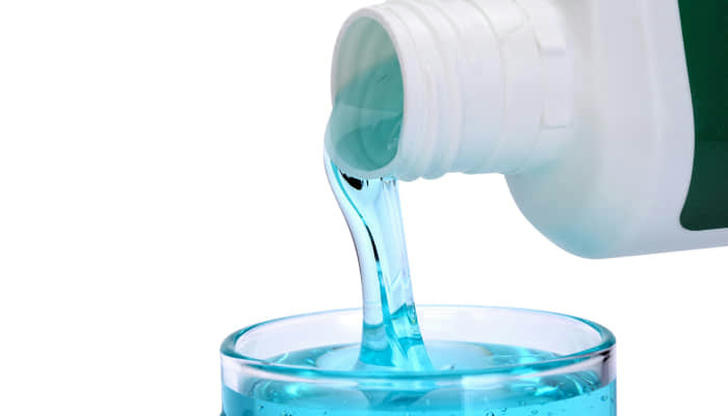
• Sanitizer: A sanitizing solution is crucial to ensure a clean brewing environment and avoid spoiling your beer.
• Bottles: Sturdy, reusable glass bottles are ideal for storing your finished beer.
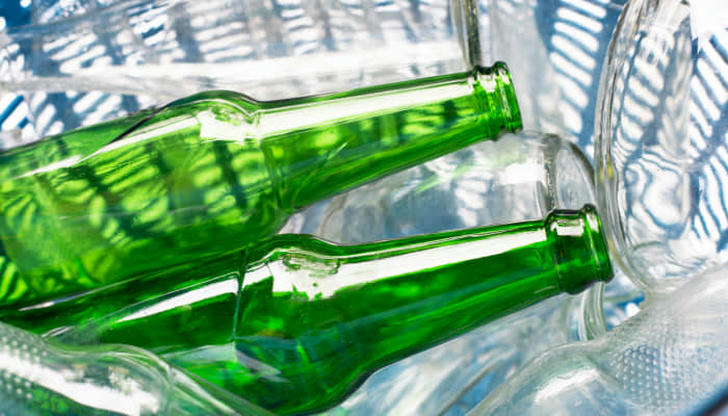
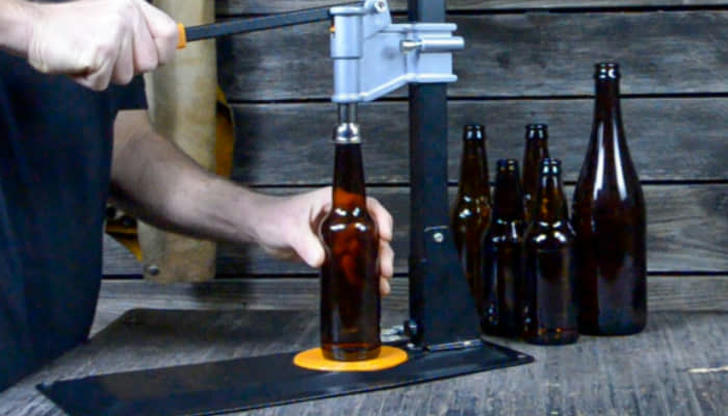
• Bottle Caps and Capper: You'll need caps to seal your bottles and a capper to secure them tightly.
• Starter Kits: Many homebrew shops offer starter kits that provide most of this equipment, along with ingredients for your first batch. These kits are a great way to get started without having to purchase everything individually.
Choosing a Beginner-Friendly Recipe
When it comes to recipes, there's a world of flavors waiting to be explored. But for beginners, it's wise to start with a simple extract brewing recipe. These recipes utilize malt extract syrup, streamlining the brewing process. Here are some resources to find beginner-friendly extract brewing recipes:
• Websites:
American Homebrewers Association (https://www.homebrewersassociation.org/)
Northern Brewer (https://www.northernbrewer.com/)
• Homebrew Shops: Local homebrew shops often have recipe kits specifically designed for beginners.
When selecting a recipe, consider the following factors:
• Beer Style: Do you prefer light and refreshing lagers, or something bolder like an IPA?
• Flavor Profile: Citrusy? Hoppy? Explore different flavor profiles to find what piques your interest.
• Ingredients: Ensure you have easy access to all the required ingredients in your recipe.
Brew Day! Bringing Your Recipe to Life
With your recipe chosen and equipment assembled, it's finally brew day! Here's a step-by-step breakdown of the brewing process:
1.Sanitize Everything!: Before you begin, thoroughly sanitize all your equipment with a brewing sanitizer to prevent contamination.
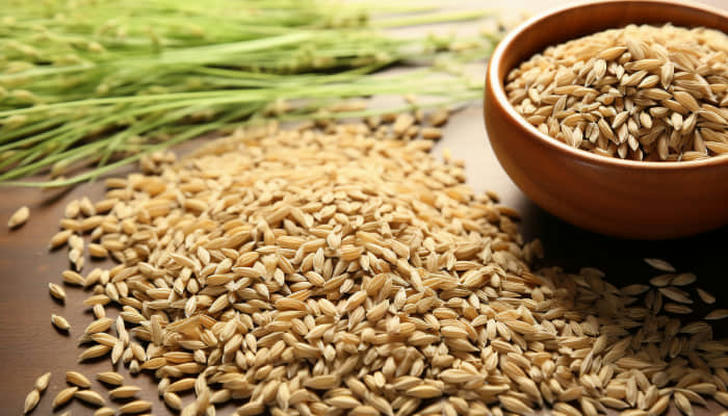
2.Steeping the Grains: Fill your brew kettle with water and heat it to the temperature specified in your recipe. For extract brewing, you'll then add the malt extract and stir until completely dissolved. If your recipe includes steeping grains (grains that add flavor and color but are not fermentable), you'll do this at this stage according to recipe instructions.
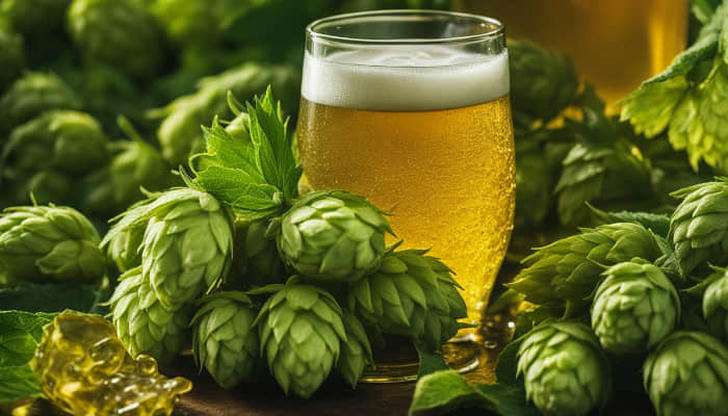
3.Hoppy Goodness: Hops are the flowers of the hop vine, and they are responsible for the bitterness, aroma, and flavor profile of your beer. You'll add hops at various times during the boiling process as instructed by your recipe.
4.Cooling the Wort: Once the wort has boiled for the designated time (usually around an hour), it's crucial to cool it down rapidly to a temperature suitable for pitching the yeast (usually around 68°F). You can achieve this by transferring the wort to a sanitized sink filled with ice water.
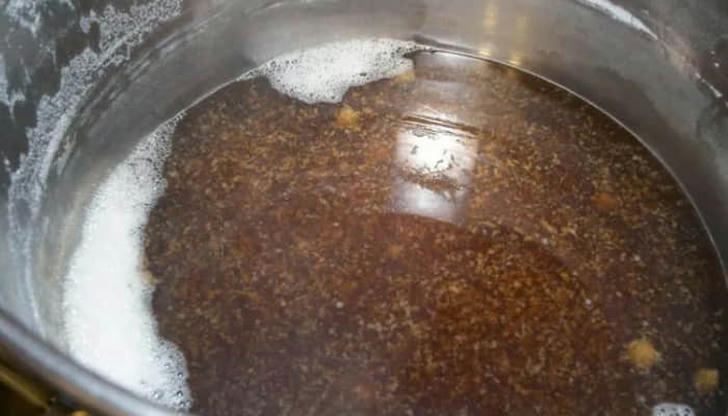
5.Transferring to the Carboy: Once the wort is cool, carefully siphon it into your sanitized carboy. Top up the carboy with sanitized water to reach the desired volume as specified in your recipe.
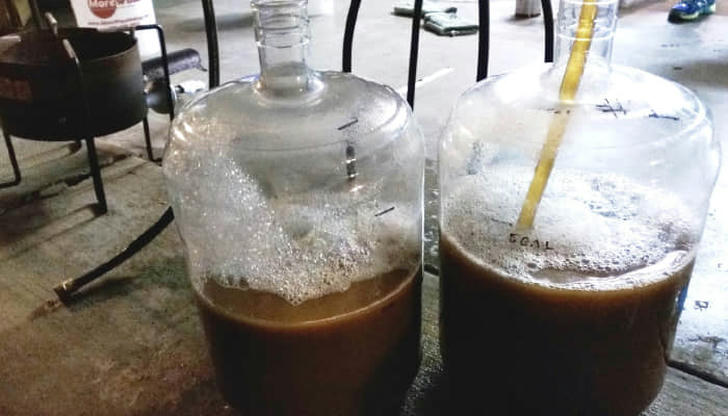
6.Pitching Yeast: Yeast is a tiny microorganism that works its magic, converting the wort's sugars into alcohol and CO2. Gently sprinkle the yeast onto the surface of the cooled wort according to the recipe's instructions.
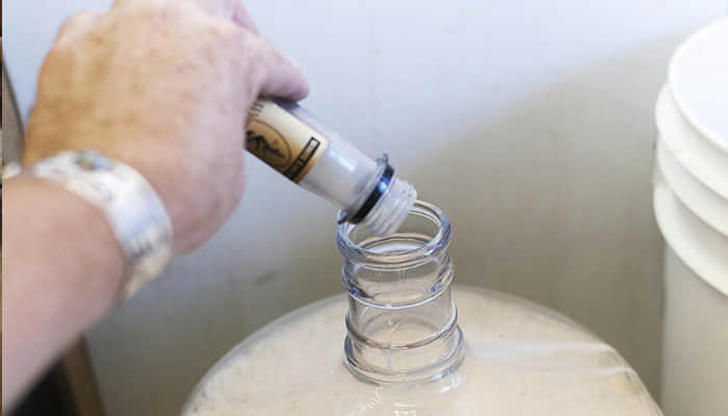
7.Fermentation Frenzy: Attach the airlock to your carboy. Fermentation will typically take 1-2 weeks, and you'll observe the airlock bubbling as CO2 is produced.
8.Bottling Up Your Brew: Priming for Perfection
After a week or two of fermentation, when the bubbling in the airlock subsides, it's bottling time! Here's how to get your beer ready for storage and enjoyment:
• Priming Solution: To carbonate your beer (make it fizzy!), you'll need to create a priming solution. This typically involves boiling a specific amount of sugar (usually corn sugar) in a small amount of water according to your recipe.
• Sanitize Everything (Again!): Ensure all your bottling equipment, bottles, and caps are thoroughly sanitized to avoid contamination.
• Siphoning and Bottling: Carefully siphon your beer from the carboy into your sanitized bottles, leaving a little headspace at the top. Add a measured amount of the priming solution to each bottle.
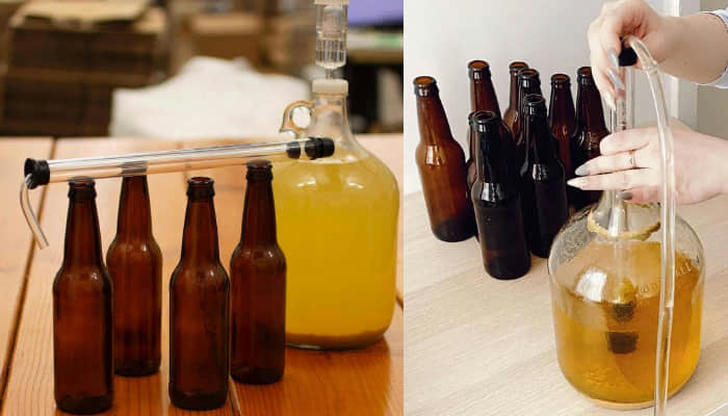
• Capping Up: Secure the caps on your bottles using your bottle capper.
• Carbonation Countdown: Now comes the waiting game! Store your capped bottles in a cool, dark place for 2-3 weeks to allow them to carbonate.
9. Cracking Open Your Creation
Finally, the moment you've been waiting for! After the allotted carbonation time, grab a bottle, pop the cap, and enjoy your very own home-brewed beer!
Now, grab your ingredients, fire up your brew kettle, and get ready to craft your own masterpiece!
